Outdoor Photography: 5 Tips to Capture Stunning Portraits
Outdoor Photography: 2 Major Tips to Capture Stunning Portraits
Portrait photography may seem challenging, but with a few simple techniques, you can take amazing outdoor portraits effortlessly. Natural light makes outdoor photography easier, helping you capture stunning images with minimal equipment. This guide covers essential tips for taking great portraits, followed by a list of recommended gear to improve your shots.
Key Tips for Outdoor Portrait Photography
1. Choosing the Right Location
The background is key to enhancing outdoor portraits, setting the mood and complementing the subject. Choosing the right location adds depth while keeping the focus on the person.
- Nature settings like parks, gardens, and forests create a soft, natural feel.
- Urban spots such as city streets, murals, and modern architecture add energy and character.
- Minimalist locations like empty roads or rail tracks provide a clean, distraction-free backdrop.
- Beach and waterfront areas offer a relaxed, open atmosphere with natural reflections.
- Rustic settings like old bridges, barns, or countryside roads add texture and timeless charm.
Select a location that aligns with the shoot’s theme, avoiding crowded areas for a clean, professional look. Lighting and composition play a crucial role in making portraits stand out.
2. Understanding Lighting Conditions
Bright, sunny days may seem ideal for outdoor portraits, but they often create harsh shadows and make subjects squint. Cloudy days are a better choice for outdoor photography as they provide soft, even lighting, preventing overexposed highlights and deep shadows. If shooting in strong sunlight, finding shade from trees or buildings helps balance the light and reduce contrast for a more natural look.
For the best results in outdoor portrait photography, capturing images during the golden hour—shortly after sunrise or before sunset—adds a warm, flattering glow. Using a simple reflector can enhance outdoor lighting by brightening the face and softening harsh shadows. Positioning the subject with the sun behind them creates a beautiful backlight, adding depth and a natural rim light effect.
Adjusting brightness, angles, and exposure settings ensures a well-lit and polished outdoor shot. A light filter can help diffuse strong sunlight, preventing overly harsh lighting conditions. Additionally, keeping the background simple in outdoor portraits ensures the focus remains on the subject. With these small but effective changes, outdoor photography becomes more visually appealing, producing natural and professional-looking portraits.
3. Camera Settings for Best Results
Choosing the right camera settings can greatly improve portrait quality. The best settings depend on the look you want. For a sharp subject with a blurred background, use a wide aperture (low f-stop like f/1.8). To keep more of the scene in focus, a smaller aperture (higher f-stop) works better. A fast shutter speed captures movement clearly, while a slower one creates a softer effect. Adjusting ISO helps control brightness—keeping it low in bright light and higher in dim conditions. White balance ensures natural skin tones, and trying different angles adds creativity. Practicing with these settings in various lighting conditions will help you take better portraits.
For Blurred Background (Bokeh Effect)
- Set your camera to Aperture Priority Mode (AV on Canon, A on Nikon).
- Choose the lowest possible f-stop (e.g., f/1.8 or f/2.8) to blur the background.
- Use an ISO of 200 on a bright day and 400 on a cloudy day.
- Ensure the shutter speed stays above 1/300 to keep the image sharp.
For Action Portraits (Movement Shots)
- Set your camera to Shutter Priority Mode (TV on Canon, S on Nikon).
- Select a fast shutter speed (1/250 or higher) to freeze motion.
- Keep ISO at 200 in bright conditions and 400 in overcast conditions.
The camera will automatically adjust other settings to get the best exposure for your shot.
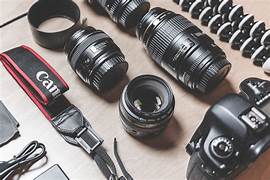
Essential Equipment for Better Portraits
1. DSLR Camera
While phone cameras have improved significantly, a DSLR or mirrorless camera offers better control over settings, depth of field, and image quality. Popular beginner-friendly models include:
- Canon EOS Rebel T7 (great for beginners)
- Nikon D5600 (user-friendly with excellent image quality)
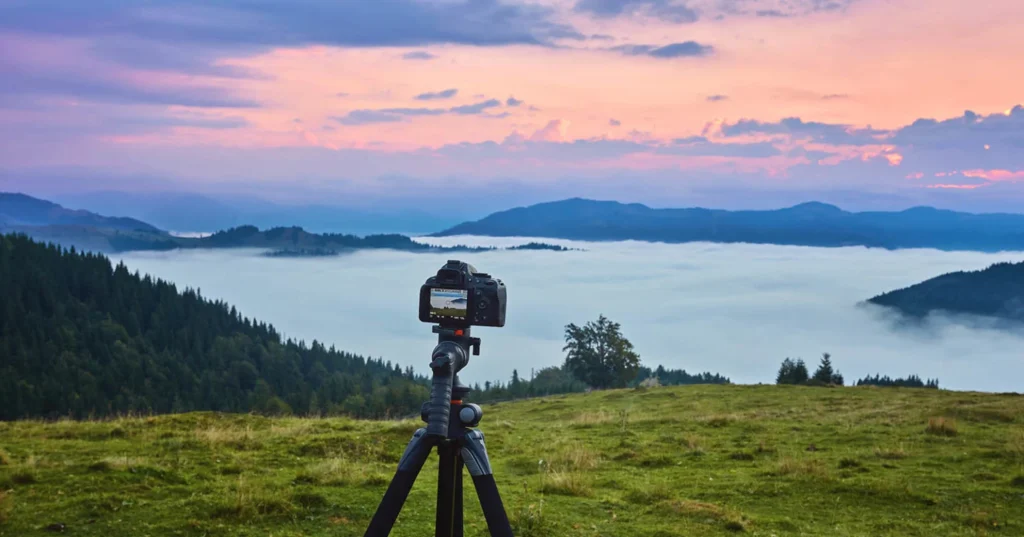
2. Tripod
A tripod helps keep the camera stable, reducing motion blur, especially when shooting in low light. Here are two options:
- Basic Tripod – Lightweight and affordable for beginners.
- Advanced Tripod – Sturdier for professionals who need more flexibility.
3. Prime Lens for Portraits
A 50mm fixed lens with a low aperture (f/1.8 or f/1.4) creates a beautiful background blur and sharp subject focus. The Canon 50mm f/1.8 and Nikon 50mm f/1.8 are excellent budget-friendly options.
conclusion
Portrait photography is all about using the right light, location, and camera settings. With a little practice and the right gear, you can capture stunning portraits effortlessly. Keep experimenting with different settings and environments to develop your unique style. Happy shooting!